Mixing metals is a topic which frequently pops up in my email and in my messages. I’ve discussed it in the past on this blog, however not in the form of a Designer Trick post. I wanted to simplify it and keep it simple and give you my top tricks for mixing metals successfullyand with the confidence of a skilled designer. Ready? Follow my steps for tips and suggestions, as well as ideas to test and installation tips to stay clear of!
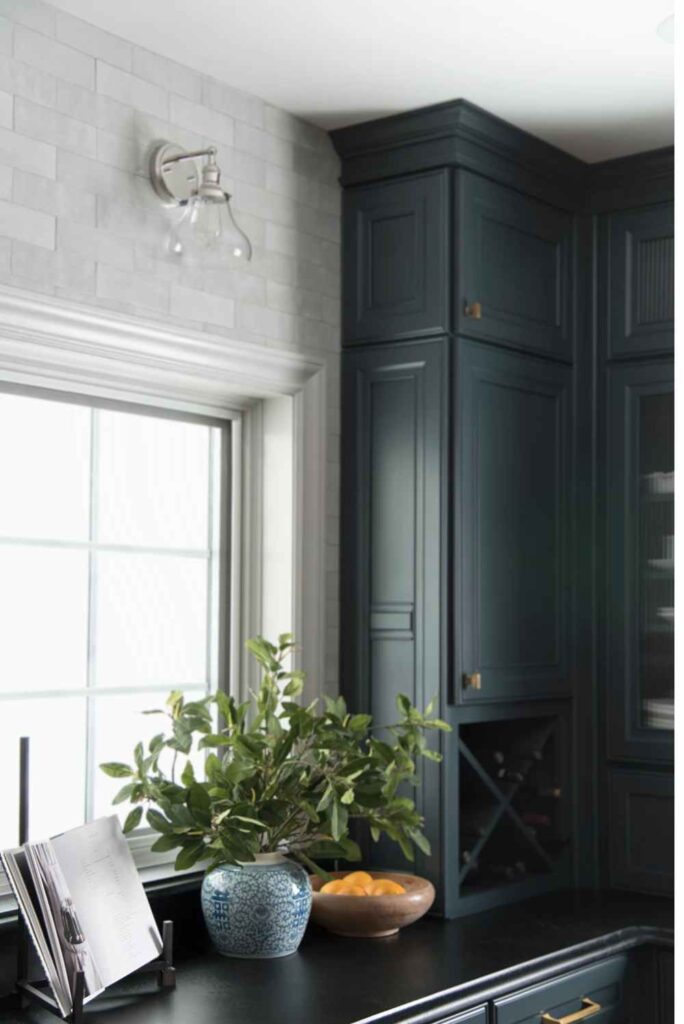
I’m a huge fan mix of metals. It’s layered and gives depth, interest and can truly elevate the look of a room. For my own kitchen the above picture I used old brass and polished nickel and even a touch of stainless. As an artist, I’m used to making this mix and don’t think about it any more however, I do realize that it’s a bit daunting when design isn’t your job or your passion. According to the saying, the design rules were designed to be broken… However, often it’s helpful to have a set of rules and “guidelines”, especially if you’re not a trained professional in a specific area. I thought that by breaking down some of the formulas, they could assist you in creating a gorgeous multi-layered, mixed metal style. I also thought it might be beneficial to list certain things to stay clear of. I love learning through images and a clear language So I’m hoping this will eliminate the guesswork of your learning process!
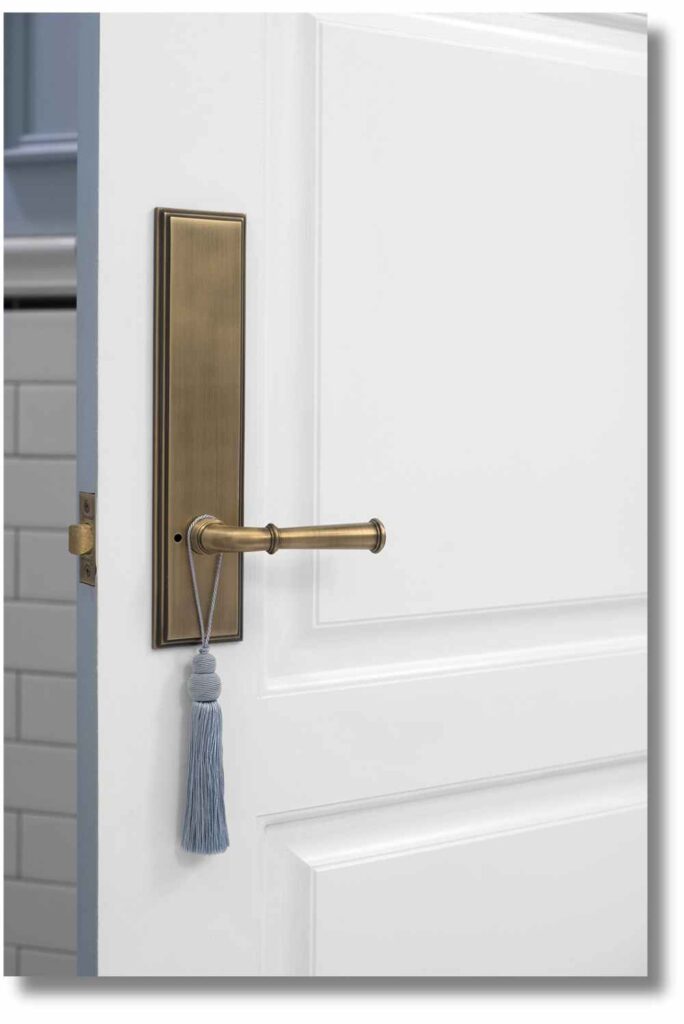
The first thing to note is that there are a lot many more metal parts in your home than you would think such as lighting fixtures, plumbing fixtures and Hardware (cabinetry hardware towels door knobs, etc.), accessories (mirrors soap pumps, frames, etc.), and furniture (chair legs tables, chair legs, etc.). If you take a look at the number of metal finishes that share an area, it could be quite too much.
A thing to remember prior to beginning your styling or design processA deliberate contrast is an excellent quality. While there are a variety of styles and finishes for a variety of items to think about, as long as you keep a constant contrast and you’re good to go.
Tips for Mixing Metals…
- Limit yourself to 3 Metals (max).
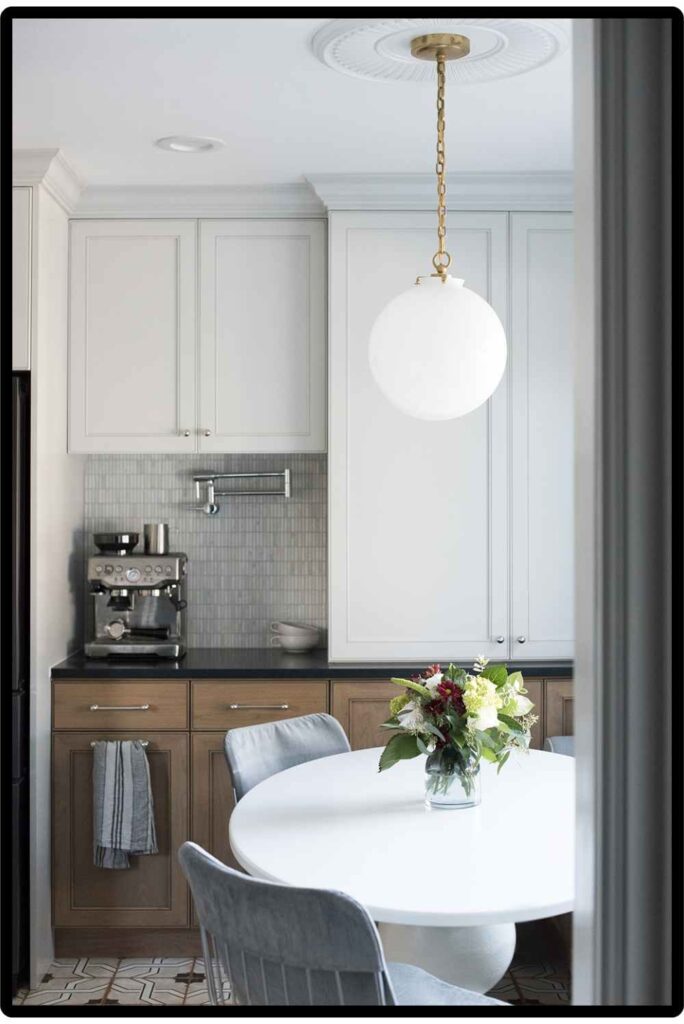
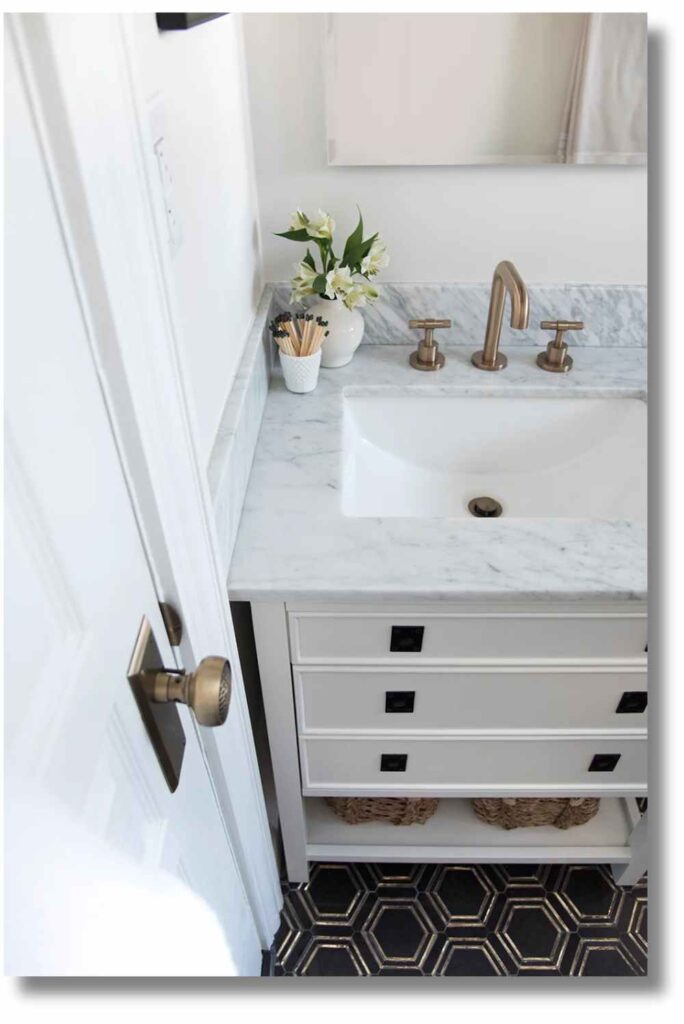
- Check that the metallic finishes you’re mixing are of sufficient contrast (example for example: old brass taps that I have within the bathroom I have above, which are paired with polished nickel fixtures along with light fixtures).
- Select a metal that is dominant to show off the style.
- Think about the metal’s color temperature (pairing warm and cool is usually a good idea… the same scenario for antique brass and refined nickel).
- Create with proximity in mind (leave the space of a negative distance between different metals in case they are competing).
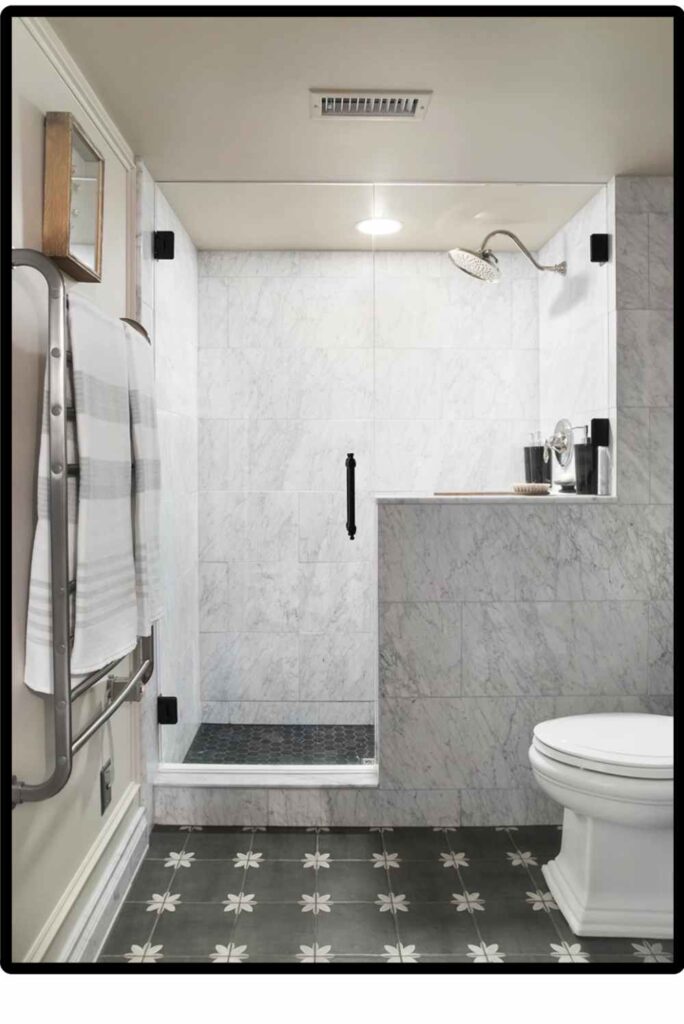
- Maintain metals that serve the same purpose consistent and purposeful (example for example: fitting brass plumbing fixtures that match in my bathroom: shower cut-outs, taps for sinks tub spout, drain etc.).
- Take a look at the texture of the steel (combine matte polished, polished, and hammered finishes to create a unique and tactile appearance).
- Check that your metals are well-balanced in the room.
In our kitchen before as shown above, I incorporated a variety of cool metals the kitchen: stainless, chrome, black stainless. Adding the warmer-colored vintage brass lighting fixture was a deliberate choice to give the room some contrast. Consider which areas could you use some variety. In my instance, the sconce was away enough from other metals to be logical and also provide the necessary depth.
Metal Mixing Installations to Avoid…
- Finishes that almost match however, they don’t necessarily work very well… within close proximity (example satin brass, and polished or living brass).
- There are too many finishes in a single room. It could look messy and unprofessional.
- Fake or cheap metal finishes. Metal is among the materials that look expensive and heavy or is cheap. There isn’t anything alternative, so ensure you’re getting the genuine thing.
- Avoid installations that are random… be sure you’re doing it with purpose (keeping the plumbing fixtures in line, etc.). The tub’s brass filler with a shower head in black is a complete waste of time. I prefer to keep ALL plumbing fixtures with the identical finish.
- Do not be enticed to make every match made of metal. Trust me when I tell you that even though it’s easy- that’s not a great, stylish appearance. In the previous bathroom in the image above I mixed the matte black fixtures and other accessories (towel bars as well as vanity hardware, hooks) with antique brass plumbing fixtures.
I always suggest using your intuition, as there’s no incorrect answer, and it’s YOUR home. Personally, I would prefer to ensure that plumbing fixtures are constant, and then add other metals, such as cabinetry hardware lights, fixtures, accessories and so on.
If you’ve not read any of the articles of this blog series feel free to catch up! So far within this Designer Trick series, I’ve covered:
I always hope these blogs can help you design your home and making it a more beautiful home! What do you want to read or learn about in the future? I’d like to hear your suggestions regarding the next Design Trick blog. Are you having any questions about mixing metals? I’m always interested in chatting with you with you in the comments below!